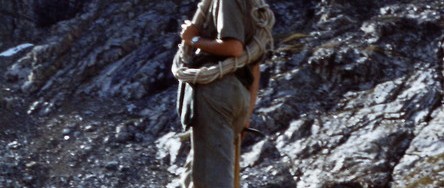
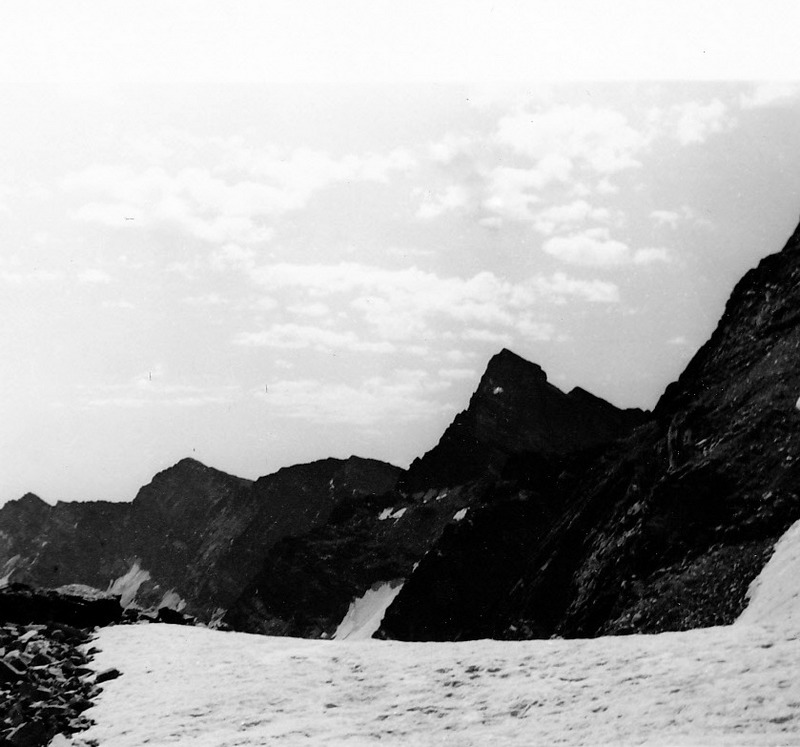
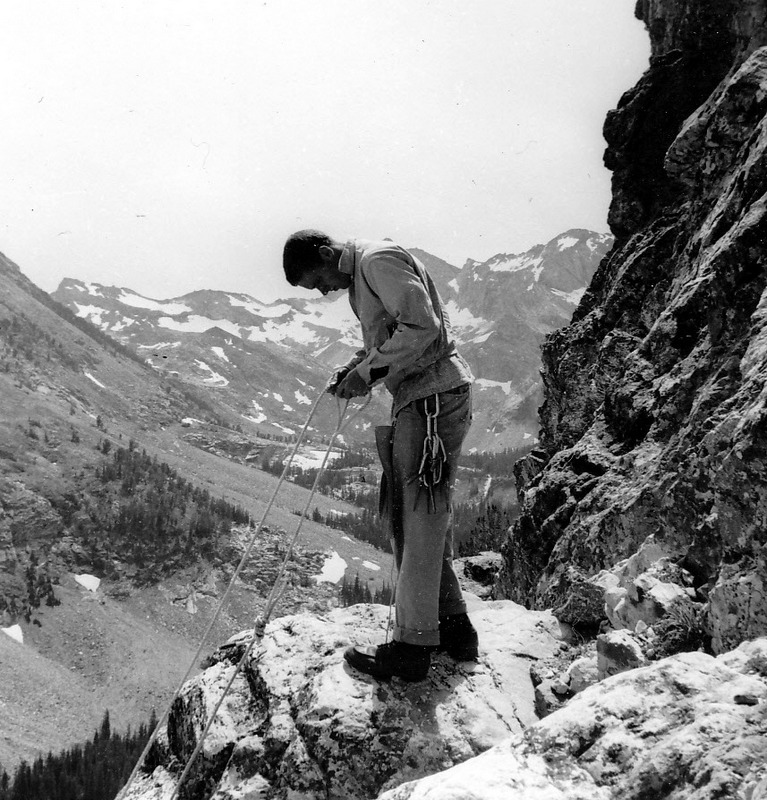
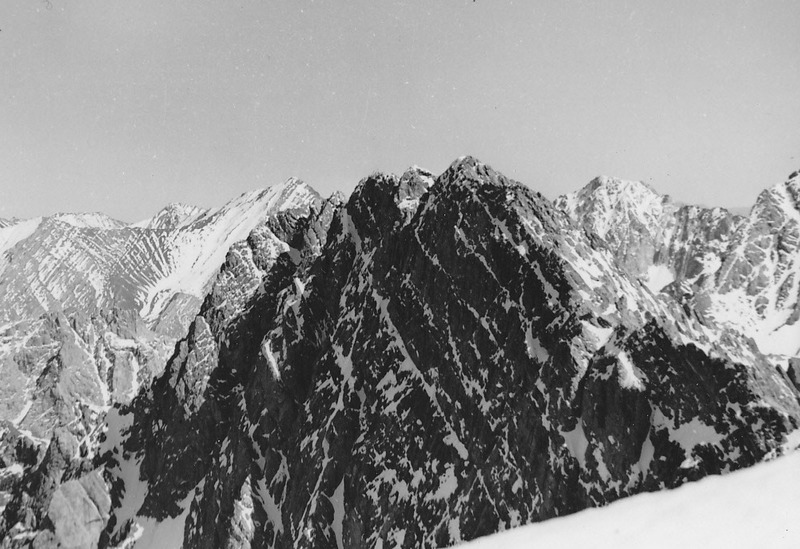
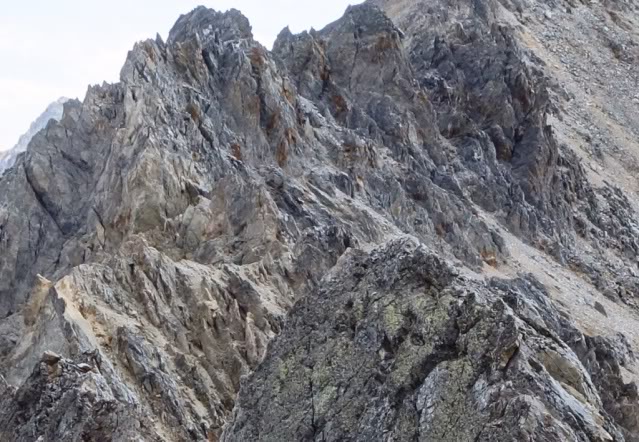
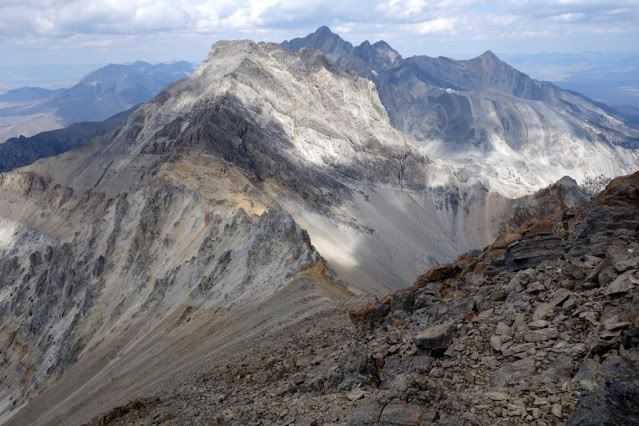
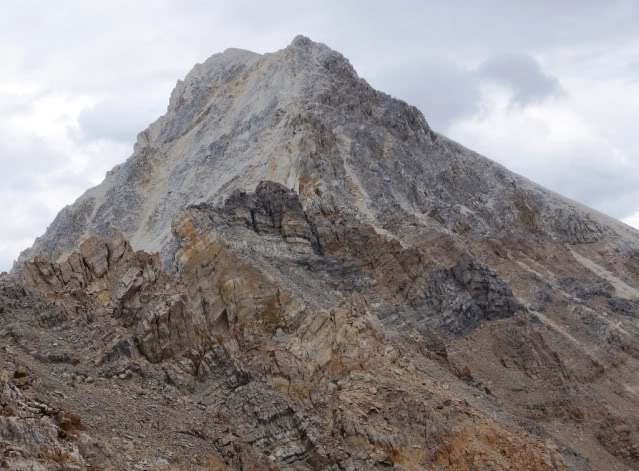
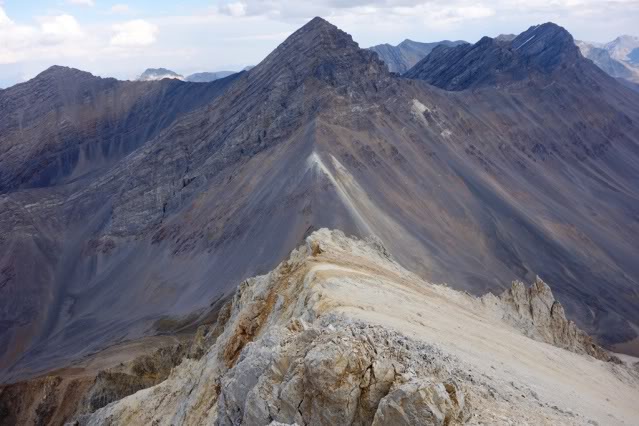
Evilio Echeverria was on a personal quest to explore the world when he arrived in Sun Valley from Chile in 1953. He took a job as a waiter at the lodge where he met Louis Stur. Stur quickly invited him into his climbing circle and the two shared many adventures over the next 3 years. The following photos were provided by Dr. Echevarria. The photos document a period during which written Idaho mountaineering history is hard to find. Dr. Echevarria contributed to the second edition of the book.
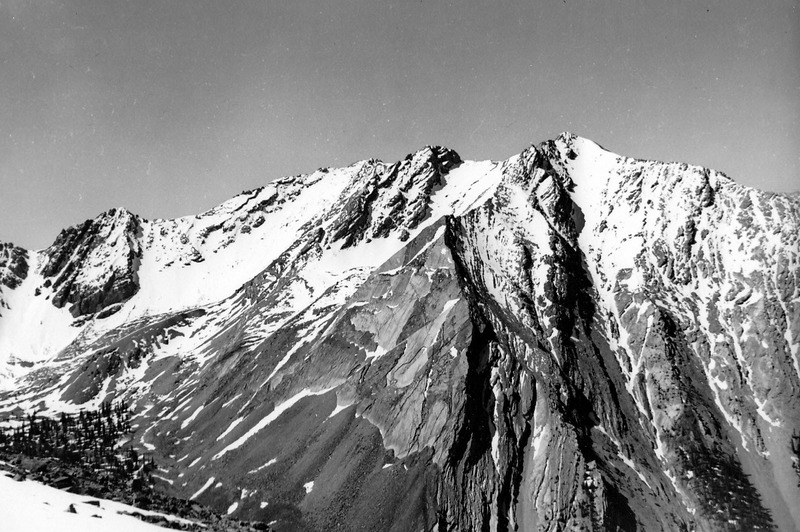
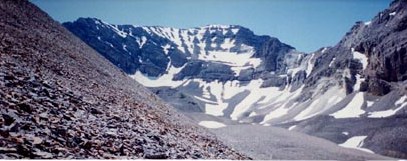
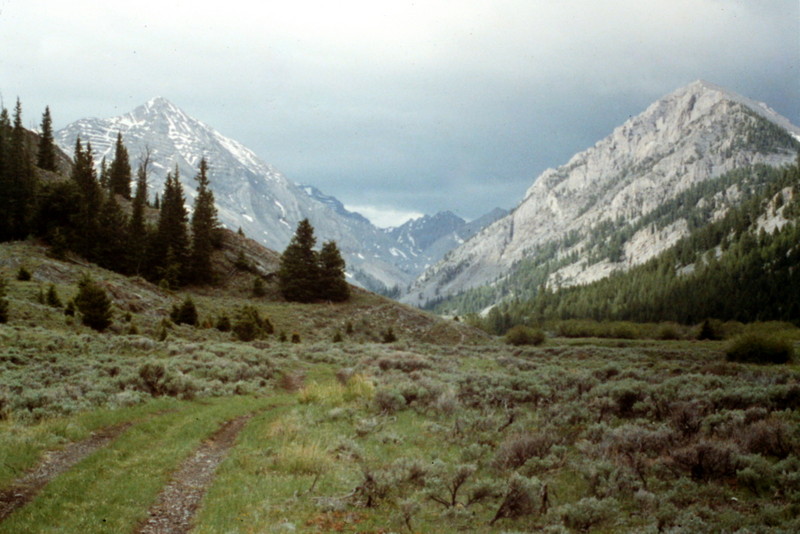
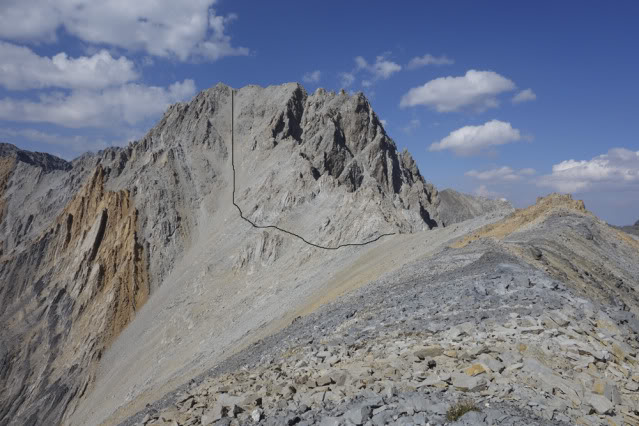
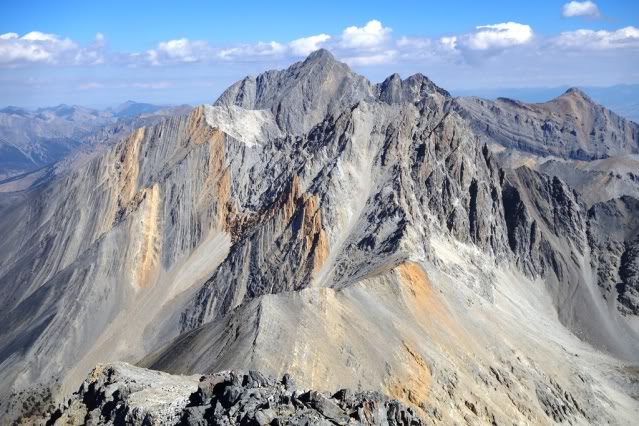
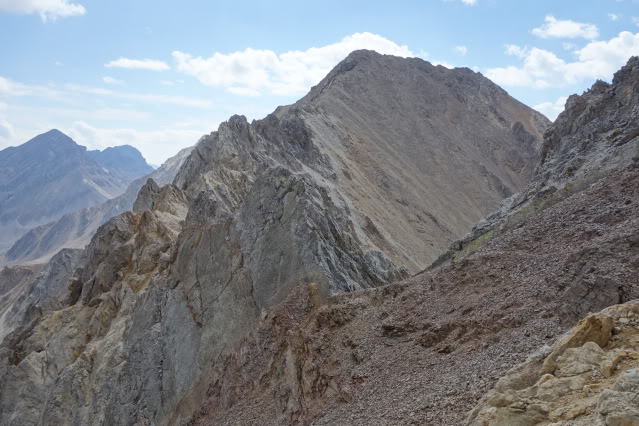
The North Ridge in front and the Northeast Face of Hyndman Peak. Evilio Echevarria PhotoHyndman Peak as viewed from the NNW. Evilio Echevarria PhotoApproaching the North Face of Hyndman Peak from Wildhorse Canyon. Evilio Echevarria PhotoThe North Face of Goat Mountain. Francis Willmarth of Berkeley, California. Evilio Echevarria PhotoOld Hyndman Peak as viewed from the north. Evilio Echevarria PhotoOld Hyndman Peak as viewed from Upper Wildhorse Creek. Evilio Echevarria PhotoThe WNW Side of Hyndman Peak. Evilio Echevarria PhotoFrancis Willmarth roping up on the North Face of Goat Mountain. Evilio Echevarria PhotoHyndman Peak and surrounding environs as viewed from the west. Evilio Echevarria PhotoOld Hyndman Peak as viewed from the north. Evilio Echevarria PhotoThe North Face of Leatherman Peak. Evilio Echevarria PhotoPeak 11090 as viewed from the summit of Mount Borah. Evilio Echevarria Photo
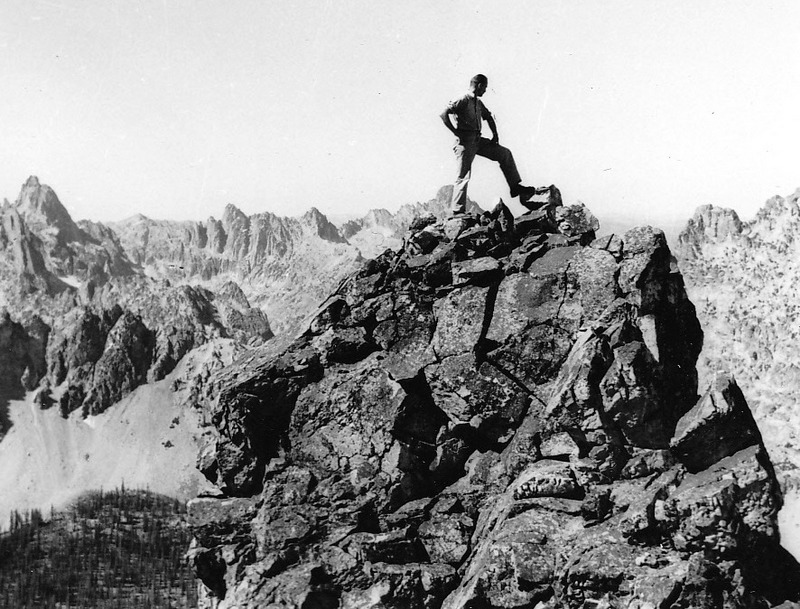
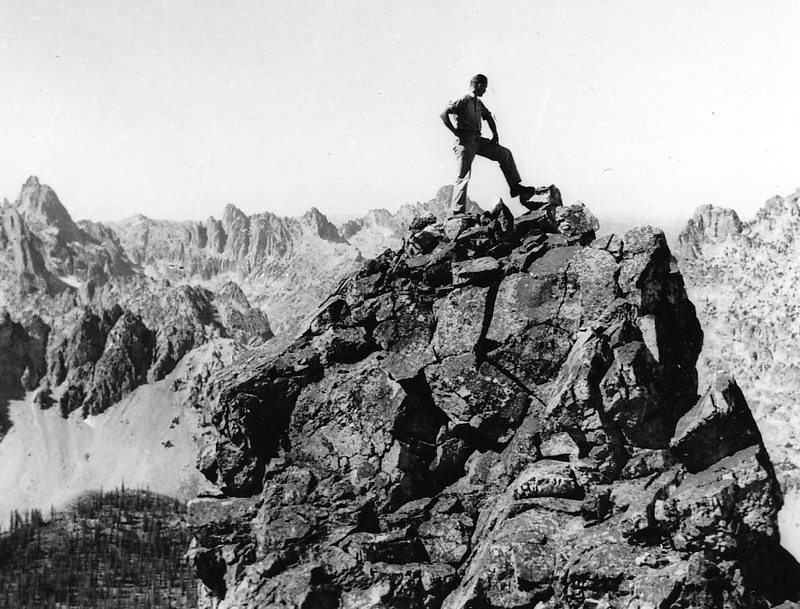
This is the summit ridge of what Louis Stur called Mount Hancher. [Editors Note: I am not sure which peak this is. The name has not stood the test of time]. Evilio Echevarria PhotoLouis Stur on the summit what he called Mount Hancher. [Editors Note: I am not sure which peak this is. The name has not stood the test of time]. Evilio Echevarria PhotoLouis Stur on the summit ridge of what he called Mount Hancher. [Editors Note: I am not sure which peak this is. The name has not stood the test of time]. Evilio Echevarria Photo
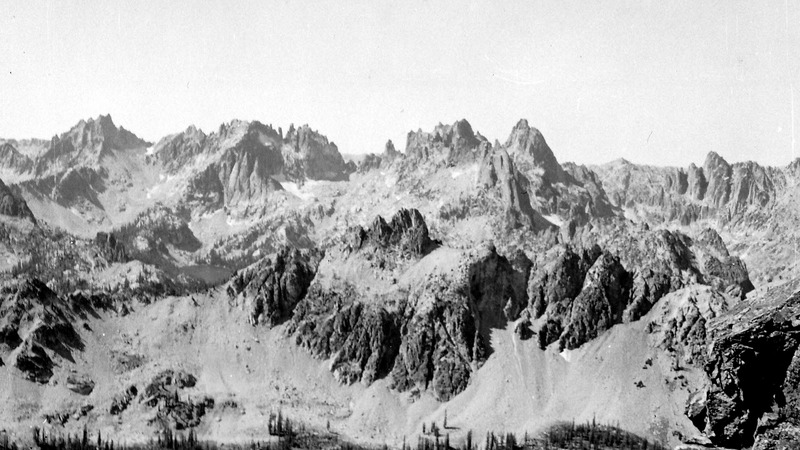
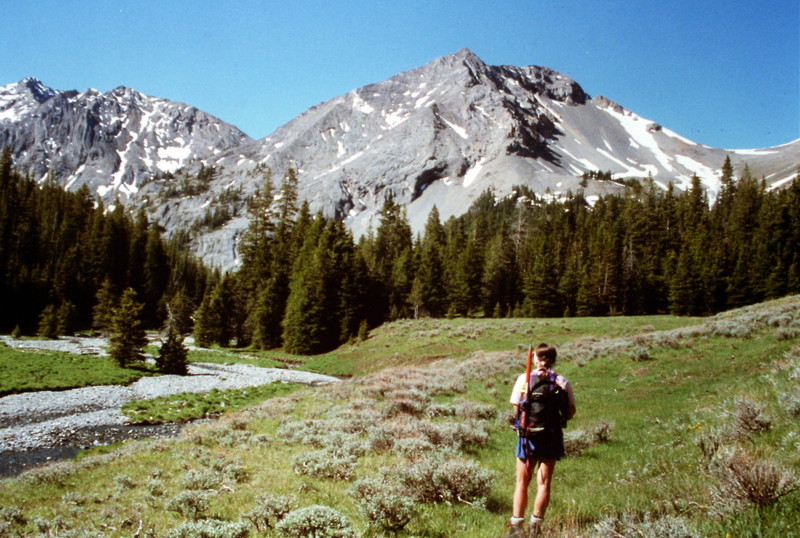
A panoramic view (left to right): Packrat Peak, Monte Verita and Warbonnett Peak. Evilio Echevarria PhotoLouis Stur ascending a slope in the Sawtooth Mountains. Evilio Echevarria PhotoLouis Stur and Freddi Haemisaeger on top of Horstman Peak in 1955. Evilio Echevarria PhotoLooking north from the summit ridge of Mount Bush during a solo attempt on the peak. Evilio Echevarria PhotoMount Bush as viewed from the northeast. Evilio Echevaria PhotoMount Bush as viewed from the west. Evilio Echevarria PhotoFrancis Willmarth surveying an approaching thunderstorm during a 1954 attempt on the North Face of Goat Mountain. Evilio Echevarria PhotoEvilio Echevarria during an attempt on the North Face of Goat Mountain. Evilio Echevarria PhotoThe final climb up Mount Borah as viewed from Chicken-Out Ridge in 1955. Evilio Echevarria Photo
The following is extracted from Page 21 of the book.
In 1951, Louis Stur came to Sun Valley to act as a ski instructor. The Hungarian immigrant was destined to become the most prolific climber among the European guides who worked at Sun Valley. Stur, occasionally with Fred Beckey and often with Jerry Fuller, raised the standards of Idaho mountaineering as he explored every nook and corner of the Sawtooths and established classic routes on many of the peaks. Stur specialized in climbing Warbonnet Peak and Mount Heybum, both of which he ringed with routes. Stur and his companions tended to find lines of attack that others had missed. He pioneered 3 routes on Warbonnet: the South Face in 1957 with Ring, Bennet and Franke; the West Ridge in 1958 with Jerry Fuller; and the East Face in 1960. He also established the West Face Route on Mount Heyburn in 1958.
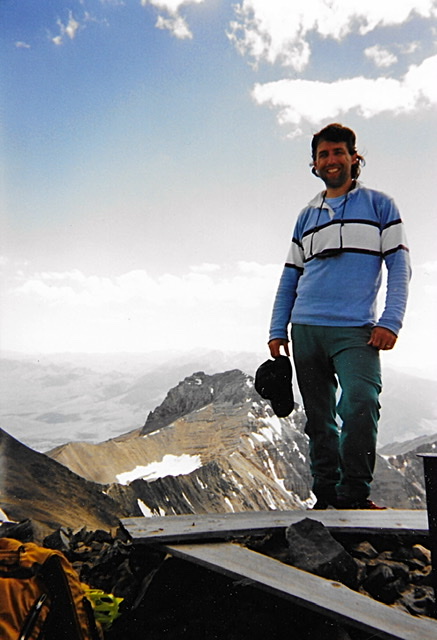
Louis Stur on top of the Sawtooths. E.V. Echevarria Photo
Mount Heyburn, a conglomeration of spectacular shattered towers, attracted climbers to its slopes at least as early as the 1920s, when the East Summit was probably first climbed. After making the first ascent of the slightly higher West Summit, Robert Underhill described the peak’s granite as “some of the worst stuff I have ever seen.” Although many had tested the notoriously rotten granite, in 1958 none of the established routes were considered enjoyable and getting to the top was strictly a “because it is there” proposition. Stur, along with Jim Ball and Jerry Fuller, changed the mountain’s reputation when they climbed the obvious but untried chimney on the peak’s West Face, which today is known as the Stur Chimney. The moderately-difficult route avoided the “ball-bearing” granite encountered on other Heybum routes by following a classic line grooved in solid granite for its entire distance.
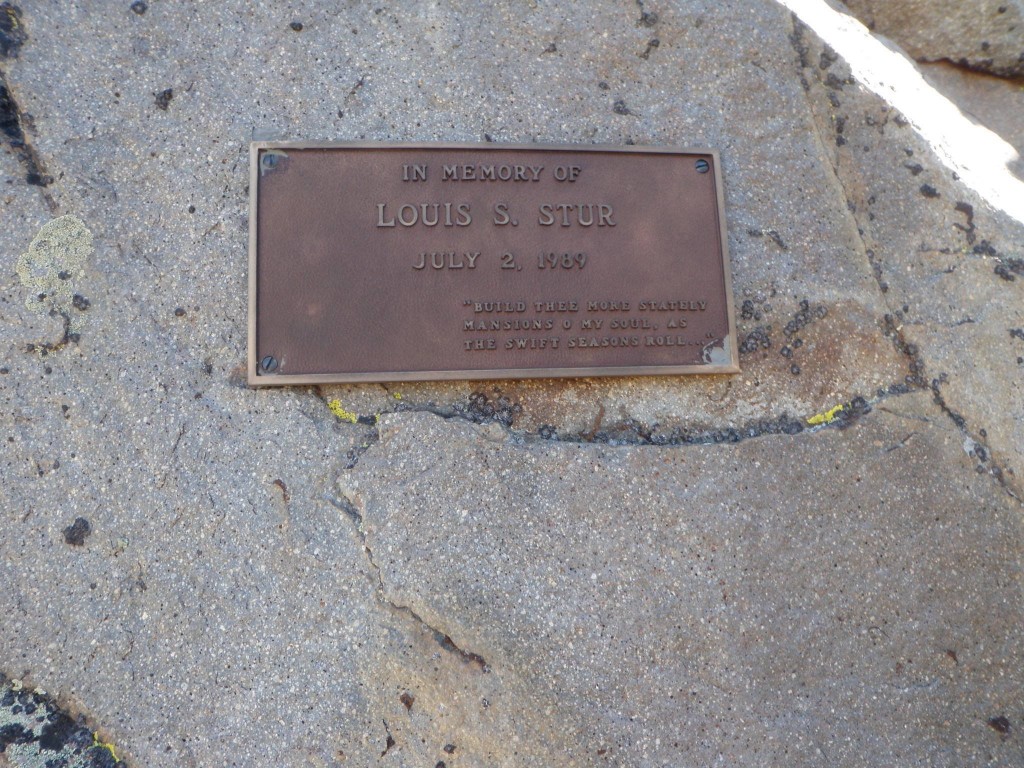
A closer view of the Stur Chimney from the base of the slabs that lead up to it.A memorial to Louis Stur on Mount Ebert. Louis died in a fall on the peak. Ralph Shelton PhotoLouis Stur climbing in the Sawtooths. Evilio Echevarria Photo
I wrote this article about the first ascent of the North Face of USGS Peak for the Idaho State Bar magazine, The Advocate. They wanted me to write an article to demonstrate that attorneys could have a life apart from their legal practice. This article recounts the first ascent of the North Face. It was originally published in The Advocate, published by the Idaho State Bar in the July 1997 issue, Volume 40, No. 7. The peak’s page is found at this link: The climb took place in August 1995. USGS Peak
I climb with my wife. For us, spare time means weekends and vacations. The typical climbing weekend begins as the prior weekend ends. As our truck reaches the pavement. Dana, my wife asks “What shall we climb next weekend?”
“I’m not sure I can go. I have a hearing the following Monday.”
“Can’t you get ready before the weekend?”
“I’ve got to write three briefs this week. I’ll have to work all night.”
“The weather can’t last forever. We should take advantage of it.”
“I know, I’ll work late.”
“Me too. What shall we climb?”
“What shall we climb?” is a loaded question for us. Its kind of like “to be or not to be?” for poor old Hamlet. There are too many options, too many summits. We talk about the options and then agonize about the decision because time is so limited.
Monday and Tuesday. Work, work, work. At home, it’s chores. At lunch, its running. In between, we pick a peak: The North Face of USGS Peak in the Lost River Range. To our knowledge, the face has never been climbed. Its one of those peaks that has haunted us for a long time. Three earlier attempts on the peak over the last 15 years came up short. One brief is finished.
Wednesday. Wednesday evening is usually the drop-dead date for packing and planning. We must collect the maps, pick the route, pack the packs and buy the food because we will be too tired on Thursday. Brief number two is done by 4:30PM.
Thursday. Its time to finish the third brief and draft an outline for the Monday morning hearing. A new case comes in and I find an answer is due by today. Between witnesses and opposing counsel, too much time is spent on the phone. I run at lunch time. A case settles, gotta draft a release, oops, time to go home. At home, the garden needs water and the equipment needs checking. We look at the maps and go to bed.
Friday. The drive to the East Side of the Lost River Range will take at least 5 hours, so we plan our escape for the early afternoon. The third brief is done. At 3:15PM, we are in the truck and heading for the freeway. From Boise, we drive east to Bliss, Shoshone and Arco. Lava fields and small towns pass by and the mountains to the north and east grow closer. At Arco, we buy gas and drive east to Howe. Its 6:00PM and we are pointed north on Little Lost River Highway.
The good roads end at Clyde. We follow the Wet Creek Road west to the Dry Creek cut-off road which runs northwest. At about 6:45PM, we arrive at the shattered Dry Creek Dam which was, according to one story, blown up as a result of a water rights dispute in the 1920s. We stop for a break. The most difficult 4 miles and hour of the drive are ahead. The sun is dipping down behind the Lost River Range Crest. The shadows bring coolness.
The road down from the top of the dam is reminiscent of a roller coaster ride. One turn and the road is nothing more than a talus slope which pitches out and sharply down at a wicked angle. The Jeep bounces and stammers, the wheels throw gravel and its over. I release my death grip on the steering wheel.
It’s now time to ford Long Lost Creek for the first time. The creek is wider than I remember, but we plunge in anyway, making waves with our bumper. The gravel stream bed supports us and we cross without incident. Its starting to get dark. In another mile, we cross the creek again. A quarter mile farther and we reach a grassy, water-logged meadow. The stream has divided into numerous rivulets which liquefy the earth. No cell phone will reach a tow truck from this remote spot. We have visions of the truck sinking into the meadow and, tired of driving, consider setting up camp without crossing the meadow.
We realize that if we do not continue, we will have a much longer climb the next day. So we go on. Mud oozes and water sloshes around the truck. We creep from one mud hole to the next, finally reaching the mother of all mud holes. “What do you think?” Dana asks. “Someone drove through here,” I say without much confidence. We explore the mud hole on foot, it has a bottom, and we drive on. Suddenly, it’s over. There is dry ground under us. The road is now surprisingly good and the last bit goes quickly. We have made it to the proverbial end of the road.
The Long Lost Valley is a difficult place to reach but is well worth the effort.
Time to make camp in the twilight. The tent goes up, the sleeping bags are unpacked, the headlamps and novels are thrown in the tent, water is located, a late-night snack is gobbled up and suddenly it’s quiet. Massacre Mountain, a long hulking ridge, towers above one side of the valley while the canyon walls on the other side of the creek climb to the summits of several unnamed peaks. A deer crosses the meadow. The wind shifts slightly and the sound of the creek rolling down the canyon reaches our ears. It’s cool now. The trees sway with the breeze and I fall asleep while my untouched novel lays at my side.
Saturday. Well, OK, not the crack of dawn but a respectable 7:30AM. Time for a quick breakfast, then we load the packs. At 8:10AM, we’re on the trail, an old trail that has seen little use in the last 25 years. We hike through stretches of fir and pine separated by sagebrush-covered flats toward the headwall at the end of the canyon. The trail has disappeared. As the route climbs up a steep slope through an avalanche run, my legs remind me that it’s going to be a long day.
After the road ends, there is a sketchy trail that can be followed in places. It is, for the most part, missing in the meadows but appears in the trees.
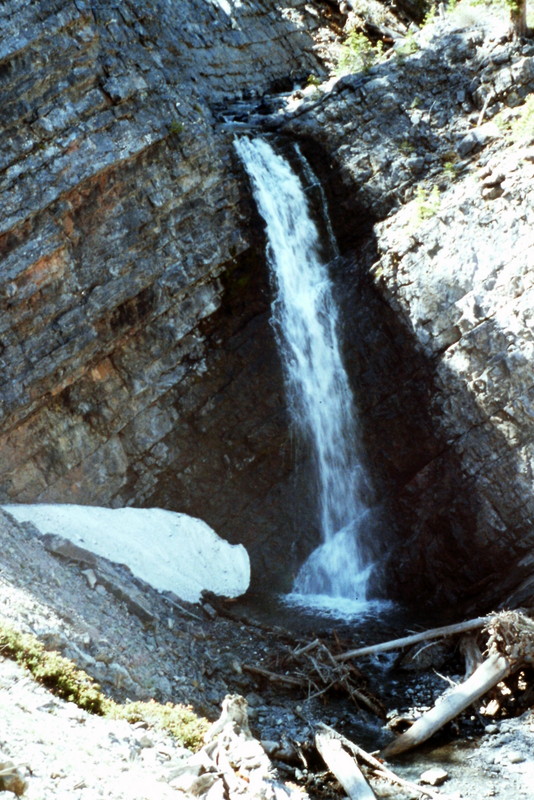
A short distance ahead, we encounter a 100-foot waterfall dropping over vertical rock walls. Following the stream is out of the question. We located a route and start up the side of the canyon. The detour involves climbing 200 feet up a steep, dusty slope. From this point, a 75-foot loss in elevation brings us back down to the stream above the waterfall. The next obstacles (two smaller waterfalls) are not as time consuming to bypass. An hour has gone by.
The highest waterfall along the approach route.
A detour around a 4th waterfall brings us to a spot where the valley opens up into a hanging valley. A small tributary stream flows down from a side canyon, tumbling out of a long snow slope. Our route climbs up this slope to the cirque above. Do we get out our ice axes and crampons to climb the snow or do we climb the rocks to the left? Decisions, decisions. We opt for the rocks to save time. The slope is at least 300 feet high (100 feet higher than the Capital’s dome in Boise) and it takes us nearly 30 minutes to navigate our way to the top.
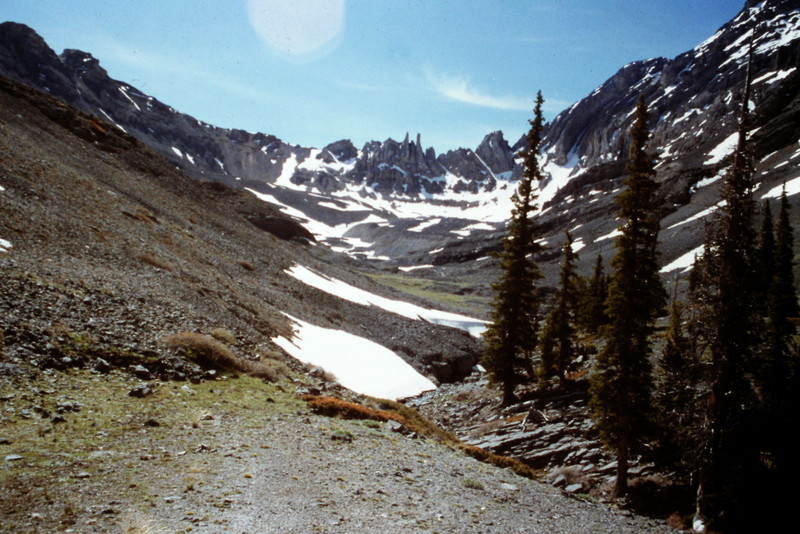
Above the waterfalls, the valley opens up into a spectacular high valley.
One hundred yards farther and we reach a small pond fed by melting snow. A thin glaze of ice covers its surface, a sure sign that the elevation is well over 10,000 feet. From the pond, we catch our first glimpse of the North Face of USGS Peak. The face is steep (as we knew it would be) but wow, it really looks steep. Slender snow ramps climb up the shadow-covered face. We snap a couple of photos and look at the wall through a monocular. Dana suggests a possible route. We discuss it. I give it my benediction, “Yes, it will go,” meaning that there are no obvious obstacles and what we see ahead of us doesn’t scare me.
The North Face of USGS Peak.
The intervening terrain is strewn with boulders and patches of snow. Although we picked the easiest route across the broken surface, it still takes 20 minutes to arrive at the face. It’s now time to unpack the ice axes and crampons and to decide whether a rope is necessary. The 1,500-foot slope above us rises at about 45 degrees. We opt for speed and leave the rope. Our ice tools are our only protection. The first pitch is 200 feet high, steep and the snow covering is still rock-hard in the morning shadows. At times, we hit water ice and neither the points of our crampons or the pick on our ice axes will make a dent. We use our ice axes to cut several steps across the ice and soon reach a rock buttress. Rather than remove our crampons, we climb up with our crampons clinking and scraping on the rocks. The footing is good and we scramble up the rock to the base of a snow chute that climbs to the summit ridge, another 1,000 feet above. Another hour has passed.
“It looks good.” We are now 500 feet up the slope and the base of the cirque is spread out below us like the view from an airplane. The tops of the ridges that enclose the cirque are nearly level with us but the summit ridge seems no closer than it was 30 minutes earlier. We use our axes to cut a small platform and sit down to rest. The snow has varied in quality as we climbed, from “Styrofoam like,” to water ice, to unconsolidated, rotten snow where we have fallen through the crust to our waists. Anything that gets loose on the slope will end up in the rocks 500 feet below in no time at all.
We continue cutting steps across water ice. Our quadriceps ache and our calves cramp, but we go on. We reach a rock band which constricts the snow chute and climb onto it for a change of pace. The rock quickly becomes too steep and we move back onto the snow. I’m counting my steps now to take my mind off my weariness. I set a goal. I’ll try to go 200 steps before I rest. I make it to 247. Time to cut more steps. Dana takes the lead. Each blow from the ice ax sends a cascade of ice down the slope. The air is completely still except for our labored breathing. Above the water ice, the slope moderates and the summit ridge cuts the sky. Another 15 minutes and we are on the summit ridge. The summit ridge is narrow but easy walking and we soon reach the top.
A small register in a can records only the name of Rick Bauger of Idaho Falls who climbed the peak from the south one year earlier. We snack, enjoy the view, discuss other possible routes on the peak and drift into our own little worlds. The wind picks up, reminding us that it’s time to go down. We both know the descent is probably more dangerous than the climb up. We say nothing. We’ve climbed together for nearly 20 years and safety concerns are communicated non-verbally. Two hours later, we are back in camp.
Sunday. Sunday we follow a trail to a nearby lake and hike to the top of the high point above it. It’s a nice change from the icy North Face but its anticlimactic. We still have the return hike, the swampy meadow, 2 river crossings, a talus slope and a 5-hour drive ahead of us. We decide to start for home. The next trip must be planned and, somehow, we have to get our heads back into our work.
Below you will find Bob Boyles’ favorite photos from the first ascent of the Direct North Face of Borah (October 1976). The North Face of Mount Borah is considered by some to be one of the finest alpine climbs in Idaho and one of the few faces that holds ice during most years. The lower face starts at around 45 degrees and steepens to around 55 degrees below the summit pyramid. This route takes the left branch of the main couloir until it ends at the short steep rock step (Class 5.7) and then follows low Class 5, Class 4, and Class 3 steps directly to the summit. In the early season (late Spring and Summer), this route is usually a steep snow climb. In late season (late Summer and early Fall), this route can be all hard alpine ice (10 pitches, WI3). In good conditions, this route can be climbed in a few hours. In poor conditions, this route can take all day. The Southwest (Chicken-Out) Ridge is often used for descent.
Mount Borah’s North Face Direct Route. Bob Boyles PhotoMike Weber “frenching up” on hard ice.Bob Boyles high on the North Face.Mike Weber at the start of the main couloir.Mike Weber on belay below the crux pitch.Bob Boyles topping out on the North Face Direct Route.Mike on the summit of Mount Borah.Bob on the summit of Mount Borah.
Editor’s Note: The following report by Wes Collins documents his remarkable Lost River Range traverse. His effort no doubt included a number of first ascents. His achievement is one for the ages. All the photos are by Wes.
Last Winter, I traded several emails with Bob Boyles and Frank Florence who both planned on making the trip with me. We decided to hammer it out in a leisurely 4-day trip in late Spring while we could still melt snow for water. However, life kept interfering with our 3 different schedules while Spring came and went as did the snow and the end of our plans. Reluctantly, we decided to put it off for another year but when September rolled around, I made a snap decision to drop everything and solo the traverse. Prior to this time, I had stashed water along the route and only had to iron things out with my own schedule. On a Saturday (3 days later), I was on my way up Mount Borah after leaving a rig parked at the base of Lost River Mountain. The trailhead parking/camping lot was overflowing and there were cars parked on the road all the way past the outhouse. A few hundred yards up the trail I ran into 3 climbers from Idaho (Tracy, Nate and Nashina) and I chatted with them all the way up. The newly-finished trail makes the approach much nicer.
The first hiccup in the trip happened when we got to Chicken-Out saddle, I was climbing down the last little rock knob when my only Nalgene bottle popped out of my pack pocket and took a long, LONG tumble out of sight down the South Side of the col. I immediately thought I’m not going down there to look for that. I had a one liter disposable water bottle that I could make due and I was in a hurry to start the trip beyond Mount Borah.
I stashed my heavy pack on the South Side of Chicken-Out Saddle and, with the load off my back, I practically floated to the summit where a large crowd was lounging in the sun. My adopted crew must have felt bad for me sans pack and plied me with food and drink. Cody Feuz even chipped in. I only stayed on the summit for a few minutes. I always enjoy the company of other mountain people and knew I’d be solo for days but I was anxious to be on my way. Too anxious perhaps. Fifteen minutes after leaving the summit and nearly to the big saddle, I tripped over my own feet and face-planted in a rare patch of soft gravel. My only fall, thankfully.
When I got back to Chicken-Out Saddle, I hopped off the South Col without giving it a second thought. I knew I needed that damn Nalgene bottle but, more than that, I was not going to leave trash on the mountain. I found it WAY down the chute. It had tumbled at least 150 yards but was miraculously intact. I made it back to my pack just in time to see Tracy, Nate and Nashina cruise over Chicken-Out Saddle on their way down.
The ridge to Sacajawea from near Chicken-Out Saddle. Mount Idaho is on the right and White Cap Peak is in the middle.
The trip over to Sacajawea was uneventful but fun. There are a few alternatives to get to the top but they all involve Class 4 scrambling. My favorite is to stick to the ridge. The rock quality is great and the exposure is awesome.
A closer look at the Class 4 sections of the ridge.
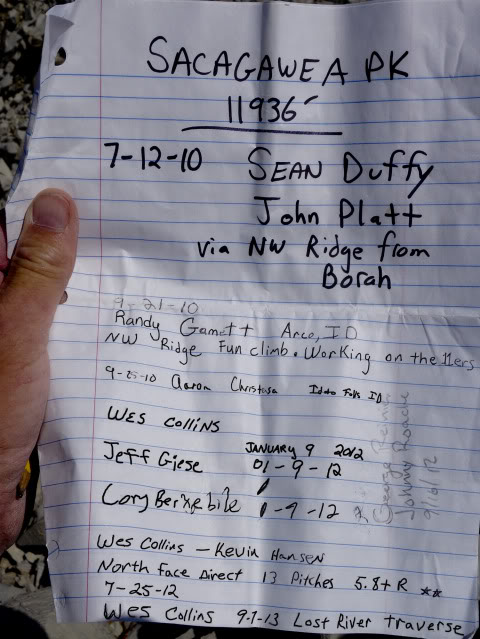
This was one of the few registers I opened in 4 days. I shouldn’t be mystified by this summit’s lack of visitors even though its right next-door to Mount Borah. There are other mountains to climb. Bigger mountains in different states. I should be more mystified by my own lack of imagination. What can I say. This range has an addictive nature and it still seems vast to me.
Sacajawea Register
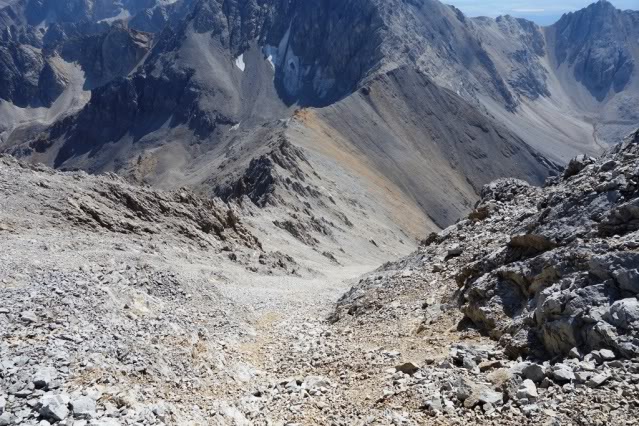
This descent to the Mount Idaho saddle looks like a straightforward scree-ski but sections of slab rock lie just under the surface, making this a slow and dreary slog. I had been down this side twice before and both times had been lured to the more stable-looking rocks on the ridge, but they are quite rotten and even slower going. This time, I just put my head down and followed the chute.
The descent off the South Side of Sacajawea.The descent route goes all the way down to the level of the big saddle and then crosses over. This chute is begging for a ski descent, probably a first ski descent from the mountain. Spring is coming!
I visited Merriam Lake several times in May through July and, on one of those trips, I stashed 3 gallons of water collected from snow melt just above the upper lake and then packed them up to the ridge. With plenty of water and a great view, camp below Mount Idaho was pretty comfortable.
Camp below Mount Idaho. Sun setting off the North Shoulder at 11,308 feet.
In the morning, I stayed in my sleeping bag until the sun warmed things up a bit and then headed up the ridge toward the summit of Mount Idaho. Several years ago, my first trip to the top of this mountain was up the North Face and I climbed/rappelled down the North Ridge so I knew what to expect. To avoid those steep sections, I climbed out onto the Northwest Side. There are several sections of Class 4 climbing and some Class 5 but the rock was pretty nice. With good route finding, most of that steeper stuff could be avoided especially if you stayed closer to a broken gully system near the North Ridge.
The North Ridge of Mount Idaho as viewed from camp.Looking back to Mount Borah from the summit of Mount Idaho.
The ridge from Idaho to the summit Peak 11967 was all new ground to me. I’d looked at it several times in the past and, although there are a few jagged sections, it looked passable. I tried to stay close to the ridgeline and mounted several Class 4-5 sections, but all of that could be traded for Class 3 on the West Side of the crest.
Looking at the North Summit of Peak 11967 from the saddle below Mount Idaho.Some of the nasty ridgeline to Peak 11967.More ridge pinnacles with Mount Idaho in the background.Looking back to Mount Idaho and Mount Borah from the North Summit of Peak 11967.White Cap Peak as viewed from the North Summit of Peak 11967.
I burned up a good part of the day in the pinnacles and didn’t cross the South Summit of Peak 11967 until about 2:00PM. To save time, I avoided the worst parts of the ridge to White Cap Peak by staying on the West Side.
Looking back at the South Summit of Peak 11967 from the saddle below White Cap Peak.
Some of the ridge sections were unavoidable without a down-climb out onto the West Side. The East Side of the crest was generally too steep throughout this trip. There were a few mandatory Class 4 sections but I was able to avoid anything steeper.
Looking toward the summit of White Cap Peak.From the top of White Cap Peak looking back at the South and North Summits of Peak 11967.White Cap Peak to Leatherman Peak.
I filled 3 gallons of water earlier from a spring above the Elkhorn trailhead and stashed them at Leatherman Pass. I put a few drops of bleach in two of the jugs and planned on using the other jug for cooking and coffee. The unpurified jug had a different lid so I wasn’t worried about accidentally drinking out of it. By the time I got to the summit of White Cap Peak, I was dehydrated. I hustled down to the stash and immediately took a good long pull off the first jug I came to. I only realized my mistake after I’d drunk at least a quart of the unpurified spring water. I wasn’t too worried though. It smelled OK and tasted fine.
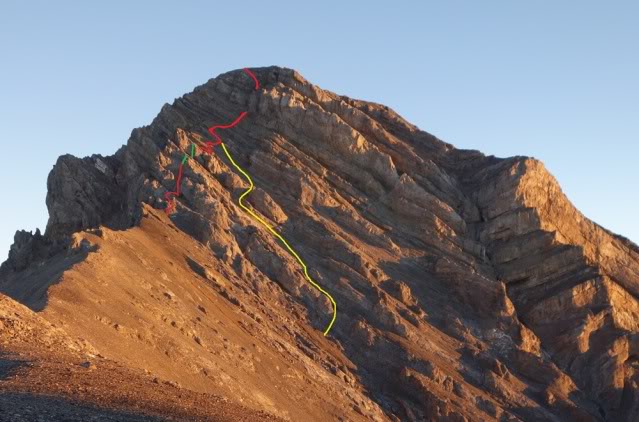
I cooked a double-sized Mountain House meal and decided that I had time to get over the top of Leatherman Peak and into the saddle below Bad Rock Peak. By the time I hit the summit, I was feeling a little off my game. I told myself that it was just altitude combined with letting myself get a little dehydrated, but I was thinking I may have screwed up. Two years earlier, I’d seen mountain sheep drinking from the origins of that spring a few hundred yards above my collection point. There wasn’t anything I could do about it. If I got sick, I’d have to go down no matter which side of the peak I was on.
It was getting late and having been down the South Side of Leatherman Peak twice before, I knew the next several hundred yards would be tricky and slow. The trick is to avoid getting cliffed out and having to climb back up for a re-do. Usually this involves ignoring the obvious somewhat easier path half way down and sticking to a few rotten Class 4 cliff bands to your left. In my case, I used a rope and made 2 key rappels on the ridge proper.
Looking back at Leatherman Peak from the Bad Rock Peak saddle. Yellow (hikers route), red (my route), green (rappels).
Bad Rock camp was pretty comfortable and, like the first night, there was very little wind. I found a nice wide sheep bed to sleep on. In the morning, I woke up to a heavy layer of frost on my bag but it was another bluebird day. My stomach was still off but I definitely had not caught a bug like giardia. I forced a couple granola bars down and headed off, knowing this would be the toughest stretch.
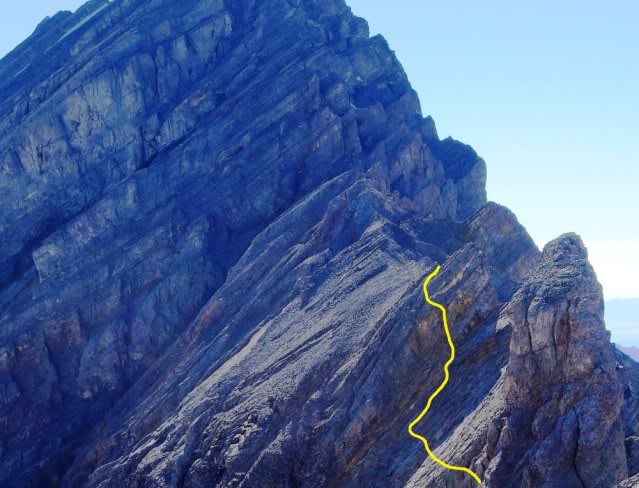
Bad Rock Peak as viewed from the Leatherman Saddle. I have climbed this ridge twice and I knew that although it looks tough, its only Class 3. I made quick work of it.
I looked for a register on the summit of Bad Rock Peak but it’s gone missing. I have descended the South Face several years earlier and its every bit as difficult as the descent on Leatherman Peak. The same rule applies: stay on the ridge or face a long climb back up to the crest. I sat on the summit looking at the ridge beyond for a long time. I knew that it had been done in the past and that put me at ease. I REALLY wanted the summit of Mount Church from the ridge. I’ve heard rumors of it being climbed and was eager to follow.
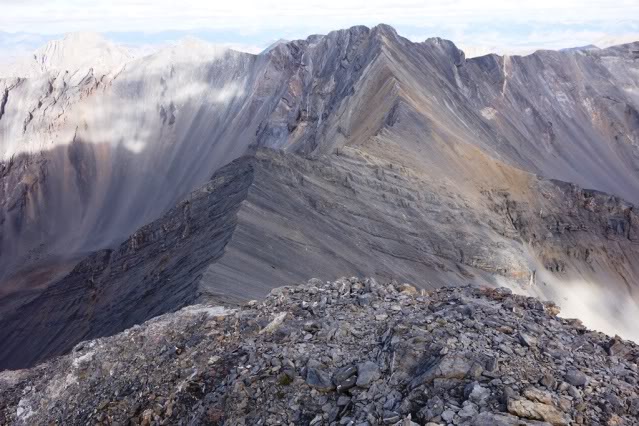
Thirteen years ago, I traversed from Leatherman Peak to Mount Church by dropping off Bad Rock Peak and climbing Mount Church via its North Face which is an easier/faster alternative. On that trip, I studied the ridge to the summit and decided that it was impossible. However, when I got to the summit I read in the register that a solo mountaineer a few weeks ahead of me had done just that. I was bitterly disappointed in not giving it a chance and vowed to return and finish it.
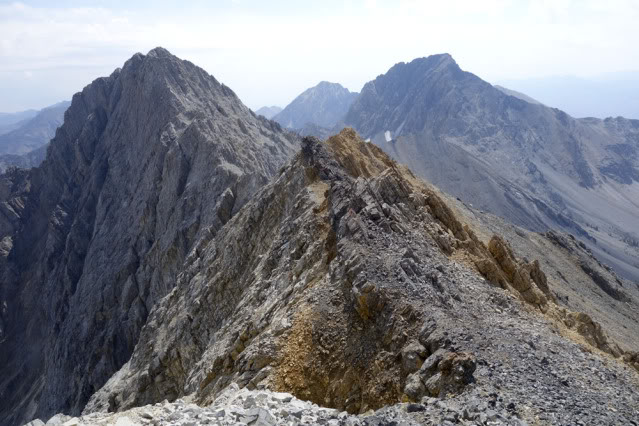
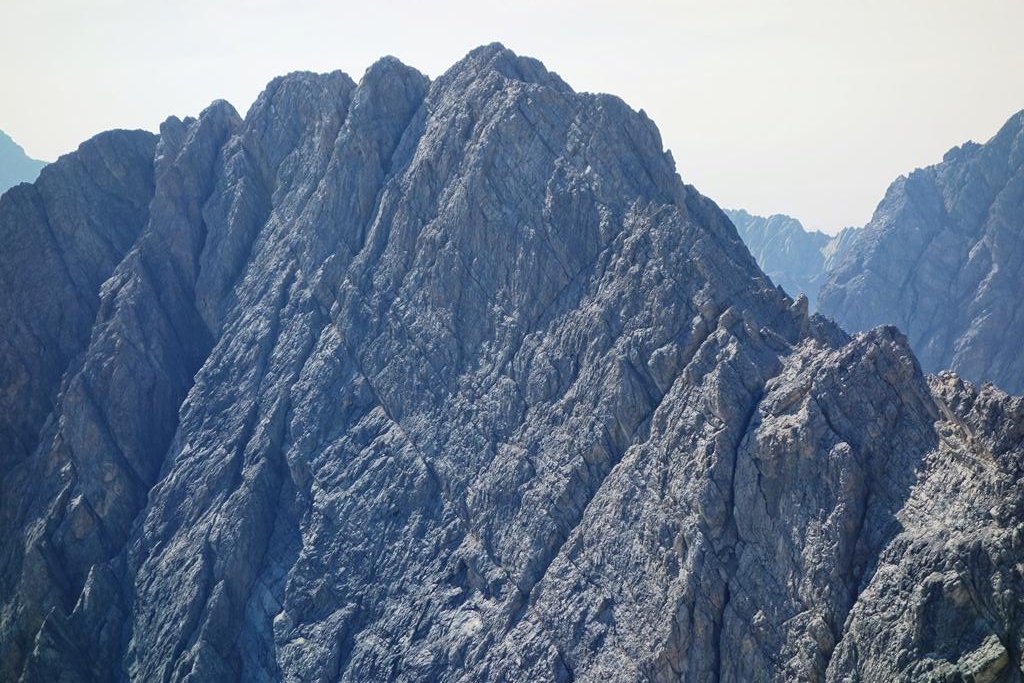
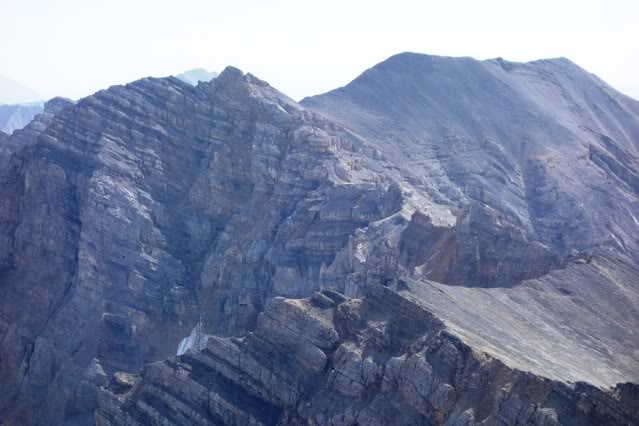
Mount Church as viewed from Bad Rock Peak and the second half of the ridge. The long, jagged slab sections and two rotten-looking towers make this the most wild part of the traverse.The first half of the ridge.
I cliffed out twice while trying to get to the start of the ridge and both times involved a pretty long climb back up to start over. Once on the ridge, the big slab towers I was worried about along the first two-thirds of the traverse proved nothing more than easy Class 3 and I made good time by traversing on their Northeast slabs. The last two (and biggest) were much worse. I skipped the first one by cutting around its Northeast Side but the last one would have none of that and it turned out to be the sketchiest bit of the whole trip.
I planned on climbing right into the col between the towers but the closer I got, the more I realized it was a dead end. From the col, the ridge was blocked by a steep 80-foot buttress. To top it off, the rock quality was terrible. Instead of going all the way to the col, I managed to make my way up a line of weakness just below the crest. But there was a sequence of easy, but exposed, Class 5 steps and holds that could have (should have) blown out. By the time I got back to easier ground, I was pretty rattled. An easier solution would have been to traverse 30 feet lower and past the buttress.
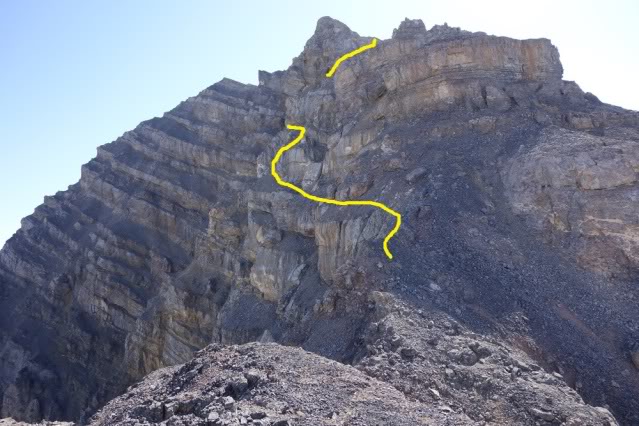
My route up Rotten Tower #2. The possible lower traverse is partly shown at the bottom of the photo.
Back on the ridge, I continued right up to the face and found a place to choke down a handful of cookies. I studied possible lines but was absolutely unable to find anything suitable to start up. I knew if I could make it past the first cliff band, I’d have a good shot at the upper mountain. But that first 30-40 feet of rotten nastiness over a fatal fall zone really needed a belay. I worked my way back and forth across the ridge, hoping to find the key but it just did not materialize.
On one foray, I continued well out onto the West Side of the crest thinking there might be something, but finally admitted defeat. I may have been too demoralized by clawing my way up the rotten tower and felt I’d pushed my luck far enough for this trip. But as I write this, I still believe I made the right choice. At any rate, it was a huge letdown. I traversed the entire West Face looking for a break in the cliffs but, for the most part, they just got bigger and steeper. This long side hill took an enormous amount of time and, in the end, I was close enough to the Church/Donaldson tarn (located on the standard route at 8,600 feet) that I dropped down and tanked up at the greenish pond.
I finished off the water in my trusty Nalgene bottle and filled it along with the gallon jug I had stashed in my pack with boiled water. It was then that I found a split in the bottom of the now-useless jug and realized things were going to get tougher. I climbed back to the crest, dumped everything but the stove, Nalgene bottle and cooker out of my pack and cruised to the top of Mount Church. Earlier, while on top of Bad Rock Peak, I spotted a small snow patch near the summit of Mount Church and I was able to refill again there. I made it to the summit of Donaldson Peak in mid-afternoon.
Donaldson Peak to Mount Church.
Although I intended to make another water cache in the saddle between Donaldson Peak and No Regret Peak, I got lazy and never made it happen. I was still on familiar ground and made quick work out of the long ridge to the summit of No Regret Peak. There are several small sections of Class 3 surprises along this segment and, luckily, I remembered to traverse around the one 70-foot drop-off at the start of the final climb up to the top. If you miss this, it’s a substantial down-climb to get back around it.
Donaldson Peak to No Regret Peak. Class 3 and rotten.
From the top of No Regret Peak to the base of Mount Breitenbach, I was on my second and final stretch of unfamiliar ground. I planned on camping on the ridge just below the big 200-foot tower that blocks access to the top from the ridge. I did not make it far before I came to the first mandatory rappel. It was an easy 40-footer but I had to leave a nut and loop of 6MM cord behind. I pulled my rope and continued to the second and (what I thought) last rappel.
It was too long to do as a double-rope rappel, so I wound up leaving my rope as well as a large nut and small cam attached to the anchor. I knew this meant a return trip in the near future to collect gear, but it would have meant a long down-and-up climb to bypass the drop. I continued on and, as luck would have it, bumped into another straight 30-foot drop. I had to do the long back-and-forth after all. In fact, there were several tough spots on the way to Mount Breitenbach and it eventually ate up the rest of the afternoon.
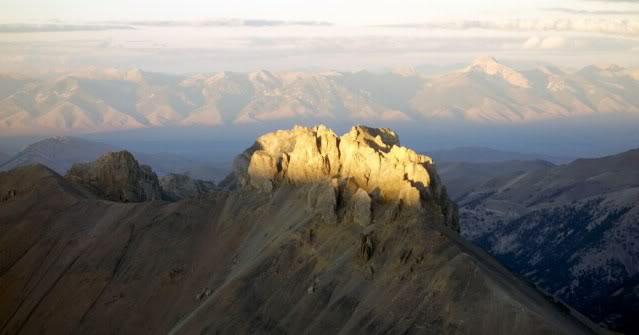
No Regret Peak as viewed from the ridge to Mount Breitenbach.
With less than 200 yards to go, I ran into yet another 50-foot impassable drop. Again, the only way past it would require a long descent and return. I really wanted to sleep on the crest but there was not a suitable place in sight. I shot one last photo of Peak 11280 and headed down. What the hell, I needed water and I knew Jones Creek started pretty high up.
Triple Peak as viewed from the last drop to Mount Breitenbach. Beyond is Bell Mountain and a section of the Lemhi Range.
The descent went pretty slow because I was still looking for a short way around the drop and back to the crest. By the time I hit the first springs, it was pretty dark. I was sick from not drinking enough water and worse from drinking Leatherman water. I stuck my head in the creek and took a good long pull, then filled and drank a Nalgene bottle. To hell with boiling it. I continued downward, looking for a place to bivy and noticed my headlamp needed new batteries.
I pulled my spares out and found they were dead. I returned the dying ones and made the best of them, but it was not long until I was blindly stumbling around in the boulders. Just about the time I was admitting to myself I’d be doing a dreaded sitting-bivy, I found a flat rock on the lip of a 10-foot waterfall and, after moving a few rocks, I had a nice little nest. For dinner, I ate a handful of cookies as my stomach could not do another freeze-dried feast.
Sleeping that close to the creek was music to my dehydrated ears and, despite the rough bivy spot, I slept very well. I had descended a long way down from the crest and, while drifting off to sleep, I started entertaining the thought of bailing out for the truck at first light. My headlamp was dead, my water container was inadequate, and I was feeling pretty ill.
Jones Creek Camp.
In the morning, I laughed at the idea of bailing. I had a good night’s sleep and a handful of almonds with my coffee improved my disposition even more. I hung around camp for a good 3 hours, drinking water and reading the book I brought. Eventually I gathered up my gear (including the useless water jug) and was standing on top of Mount Breitenbach in just over 2 hours.
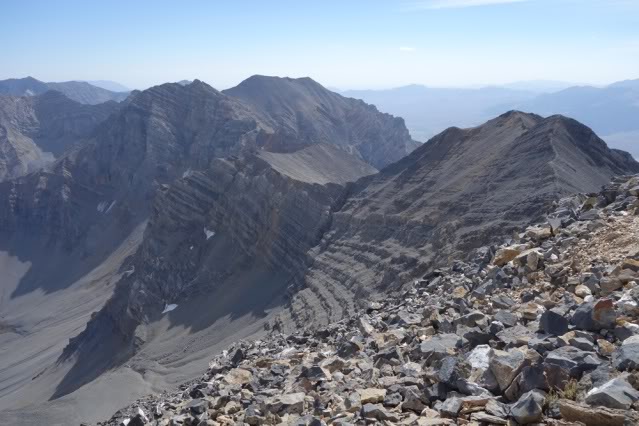
No Regret Peak as viewed from below the summit of Mount Breitenbach. The cliff bands made this part of the traverse pretty disheartening and, if I had to do it again, I’d drop 600 feet off the West Side of the summit and do the long side-hill traverse all the way over to Mount Breitenbach. The hike around this cliff on the way to the top (A). The first rappel (B). The second rappel (C). The first hike down and back up (D). The Second down and up (E). The last impassable cliff (F).
In my hurry the night before, I forgot to take a photo of Mount Breitenbach from the last cliff but I’d been between the summit and the last cliff several years earlier. There is a 200-foot steep buttress that is bypassed on its West Side by a short but exposed Class 4 wiggle.
The home stretch, Mount Breitenbach to Lost River Mountain.
I was on familiar ground once again. This section is easily the longest stretch of ridge between peaks and, although a good portion of it is easy hiking, there are several sections of Class 3- 4 rottenness. A broken sheep trail covers much of the distance on the West Side of the crest, making things even easier.
The last quarter of the ridge to Lost River Mountain.
The meat of this segment starts just before the final slopes to the summit and staying on or near the ridge can be perplexing. I’d describe it as climbing layer cakes of crap by finding the way up short cliffs and then searching for a way back down on the other side. There are a few places one has to leave the ridge (usually to the West Slopes) and climb around towers and obstacles but its all Class 3-4 unless you want to make it harder. On a previous trip, I’d bypassed this crux by climbing out to the right of the cliffs. This time I decided to explore to the left. It was all pretty rotten but fairly straightforward excluding one 15-foot section of rotten Class 5 over a steep scree-covered ledge. Beyond this tower, its Class 2 all the way to the truck.
The crux section.Looking back at Mount Breitenbach from just below the summit of Lost River Mountain. Mount Borah is visible in the upper left in the distance.
I was in fairly poor shape at this point. My water was long gone and all I was able to eat was the little pack of almonds. I sat on top and forced down some gorp for the descent while thinking about my return to things less significant than watching every step. I wondered how many miles I had covered and then decided it didn’t really matter. The miles covered up there are like dog years–1 seems like 7. A week later, I was back on top of No Regret Peak to retrieve my rope and gear. Three weeks after that, I collected my empty water jugs at Leatherman Pass as well as a golf club I brought down from the top of White Cap Peak. The water bottles below Mount Idaho will have to wait until Spring, I guess.
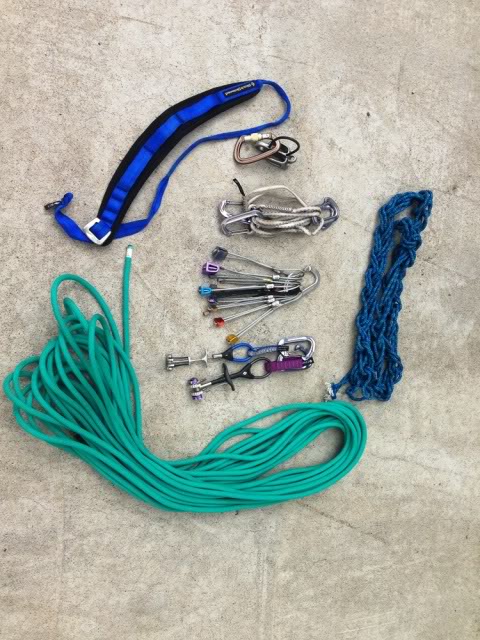
My gear
This was the kit I took and I only used it for rappels. The only place I’d have used it as a self-belay was at the base of Mount Church but I’d have had to set the base anchor pretty far from the climbing. The rope is a 9.1MM I’ve had for years and never used. I cut it in half to save weight. I used the blue gear sling as a swami belt and cut up pieces of the 6MM line for rap anchors.
Author’s Note. This is part trip report and part guide. I’ve left out a good many details in the hopes of preserving some of its mystique but I included reduced size photos of the entire ridge system. Get a hold of me if you want to see a larger version of any of them. (20MB)
Many of us have talked and schemed about doing this traverse and although there’s a lot of information out there, it mostly deals with individual sections. I know some have finished it and many have finished sections of it. If it’s on your wish list, I can tell you that it’s well worth the time and effort.
First Ascent: Bob Boyles, Mike Weber and Curtis Olsen
Rating: Grade III, 5.8, A2
Description
Provided by Curtis Olson, Mountain Guides Inc., Boise, Idaho (as published in the American Alpine Journal, Idaho, 1983)
Mount Breitenbach, North Face, Lost River Range
From July 13 to 16, Bob Boyles, Mike Weber and I made the first ascent of the North Face of Mount Breitenbach. Bill March had told me that some years ago his party was turned back by very severe rock climbing at the top of a large couloir. We easily identified the couloir and rock band.
We also discovered a possible route to the west of that couloir but still east of the summit. We pieced our climb together. It consisted of small, steep snowfields intermixed with steep limestone. The crux was a short aid pitch next to a waterfall which led us into a 900-foot long, 10-15 foot-wide hairline couloir that we followed to a bivouac on the skyline just east of the summit. In the dawn, we descended the East-Northeast Ridge in 2 hours of Class 4 climbing.
On the second ascent of this route, Duane Monte and Kevin Sweigert bypassed the aid on the overhanging waterfall (A2) by using a free variation to the east (Class 5.8).
Photo Essay by Bob Boyles
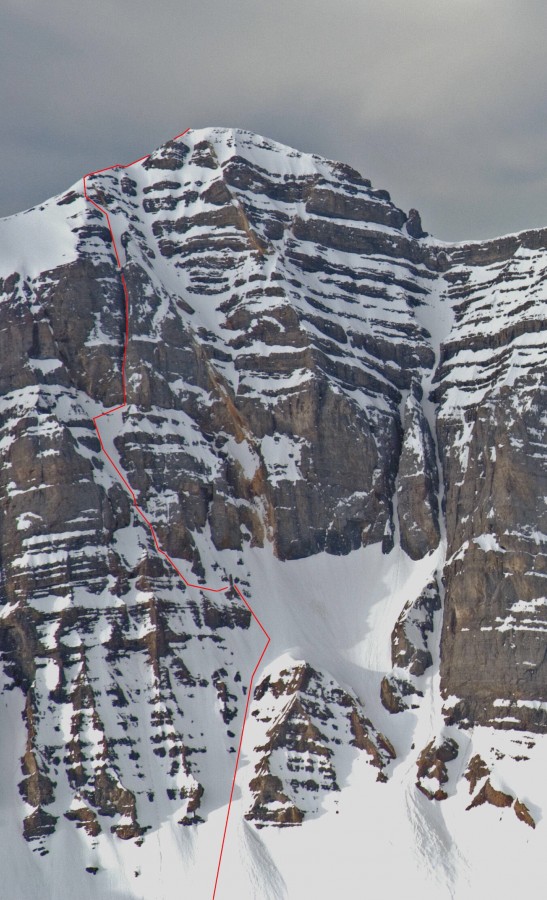
The North Face of Mount Breitenbach showing the Grand Chockstone Route. Wes Collins Photo
The Grand Chockstone Route on the North Face of Mount Breitenbach is shown above in red. There is a freestanding limestone stack about one-third of the way up the route where the route bends 90 degrees.
The stack. Curt Olson Photo
Amazingly, this stack appears to have survived the 1983 Borah Peak earthquake (magnitude 6.9) totally intact. This location is where the technical climbing begins.
Mike on the rock band pitch. Curt Olson Photo
This photo shows Mike on the rock band pitch between 2 hanging snow fields. All 3 of us rated this pitch as a dicey Class 5.8. And from this point on, retreat is not a very good option.
Mike topping out. Curt Olson Photo
Here, Mike is topping out at a marginal belay spot. Curt had 7 pieces of protection that consisted of copperheads and #1 and #2 stoppers strung together with equal tension slings on this belay. I clipped in and didn’t look at the anchors again until Mike finished this pitch. Faith be with us….
Mike on the traverse. Curt Olson Photo
This photo shows Mike traversing one of the hanging snowfields to the waterfall pitch.